When Was Auto Tune Invented? Uncovering the Origins of a Sonic Revolution
Have you ever wondered how a single invention transformed the way we experience music? Whether you’re a die-hard audiophile or a bedroom producer, the evolution of pitch correction technology is as fascinating as it is groundbreaking. Let’s dive into the origins, development, and technical wizardry behind Auto-Tune—an innovation that not only corrected pitch but also redefined vocal effects in modern music.
A Sonic Miracle in the Making
Imagine a tool that could smooth out every off-note and turn a “meh” vocal take into chart-topping perfection. What if I told you that this sonic miracle was invented by a brilliant engineer with a passion for both mathematics and music? Auto-Tune didn’t just fix vocals; it sparked a creative revolution, leading to some of the most iconic sounds of our era. So, when was Auto Tune invented? The answer isn’t just a date—it’s a journey through a timeline of technical ingenuity and artistic exploration.
Historical and Contextual Overview
The Birth of a Game-Changing Tool
Auto-Tune burst onto the scene in 1997, forever altering the landscape of music production. Developed by Antares Audio Technologies, this pitch-correcting software was the brainchild of Dr. Andy Hildebrand—a visionary engineer with an unconventional background in seismic data analysis. Hildebrand’s innovative approach to manipulating sound waves laid the groundwork for what would become a mainstay in studios around the globe.
Key Milestones in the Auto-Tune Invention Timeline:
Pre-1997 Developments: Before Auto-Tune, vocal pitch correction was a cumbersome process. Early attempts were mostly manual and often involved complex analog equipment.
1997 – The Launch: Auto-Tune was officially released, offering a digital solution that could instantly correct pitch. It quickly became a favorite among producers who were looking for a reliable tool to smooth out vocal imperfections.
Late 1990s – Mainstream Breakthrough: The release of Cher’s hit single “Believe” in 1998 marked a turning point. The distinctive vocal effect introduced by Auto-Tune became a defining sound in pop music, blurring the lines between corrective technology and creative effect.
2000s Onwards: Over the years, Auto-Tune has evolved. Subsequent versions offered more advanced features, increased control, and creative tools that allowed producers to push the boundaries of traditional vocal processing.
By delving into the history of Auto-Tune, one quickly realizes that this tool is not merely a pitch correction utility but a cornerstone of modern music production. The timeline of its invention is a testament to the blend of technical brilliance and artistic vision.
The Origin and Who Invented Auto Tune
At the heart of Auto-Tune’s success is Dr. Andy Hildebrand. His unconventional background—transitioning from seismic data analysis to digital audio processing—provided him with a unique perspective on how sound behaves. Hildebrand’s ability to see patterns where others saw only noise allowed him to create an algorithm that could accurately detect and correct pitch in real-time.
Dr. Hildebrand’s work is a perfect example of how cross-disciplinary knowledge can lead to groundbreaking innovations. His journey from analyzing the Earth’s vibrations to fine-tuning human vocals encapsulates the quirky, unexpected nature of many technological breakthroughs. If you’re ever in the market for gear that complements your vocal work, consider exploring companion products like hardware controllers or external sound processors that work harmoniously with Auto-Tune.

Technical Breakdown & Feature Analysis
How Does Auto-Tune Work?
At its core, Auto-Tune is a digital signal processing tool that corrects pitch by analyzing the frequency of incoming vocal signals and shifting them to the nearest desired pitch. Here’s a simplified explanation:
Pitch Detection: The software identifies the pitch of the vocal input in real time. This is achieved through complex algorithms that can discern even the subtlest variations.
Pitch Correction: Once the pitch is detected, Auto-Tune automatically adjusts it to match the intended note. The correction can be subtle or pronounced, depending on the settings.
Real-Time Processing: Unlike traditional methods that required extensive post-production editing, Auto-Tune can correct pitch live. This is particularly useful for live performances and studio recordings alike.
Think of Auto-Tune as having an intelligent “ear” that listens and instantly nudges the pitch toward perfection. And if you’re exploring different pitch correction tools, you might also look into alternatives like Melodyne or Waves Tune. These companion products each offer unique features and control, providing a broader palette for your creative endeavors.
Comparing Auto-Tune with Alternatives
Below is a breakdown that compares the main features of Auto-Tune with two popular alternatives—Melodyne and Waves Tune—in an easy-to-read list format:
Real-Time Processing: Offers live pitch correction, making it ideal for both studio and live settings.
User Interface: Known for its streamlined and user-friendly design.
Creative Effects: Famous for its iconic vocal effect, as heard in hits like Cher’s “Believe.”
Learning Curve: Generally moderate, making it accessible to both beginners and pros.
Companion Tools: Frequently paired with hardware controllers and sound processors for enhanced workflow.
Real-Time Processing: Provides limited real-time capabilities compared to Auto-Tune.
User Interface: Features a detailed interface that allows for pitch and time editing on an individual note basis.
Creative Effects: Focuses on natural, subtle corrections for a more organic sound.
Learning Curve: Has a steeper learning curve, which might be challenging for beginners.
Companion Tools: Works well with digital audio workstations, offering precise control over vocal adjustments.
Waves Tune:
Real-Time Processing: Capable of real-time pitch correction, similar to Auto-Tune.
User Interface: Intuitive design with flexible controls that are easy to navigate.
Creative Effects: Offers versatile options for pitch correction and vibrato control.
Learning Curve: Generally beginner-friendly, making it a great alternative for new users.
Companion Tools: Easily integrates with other plugins, providing a well-rounded toolkit for vocal production.
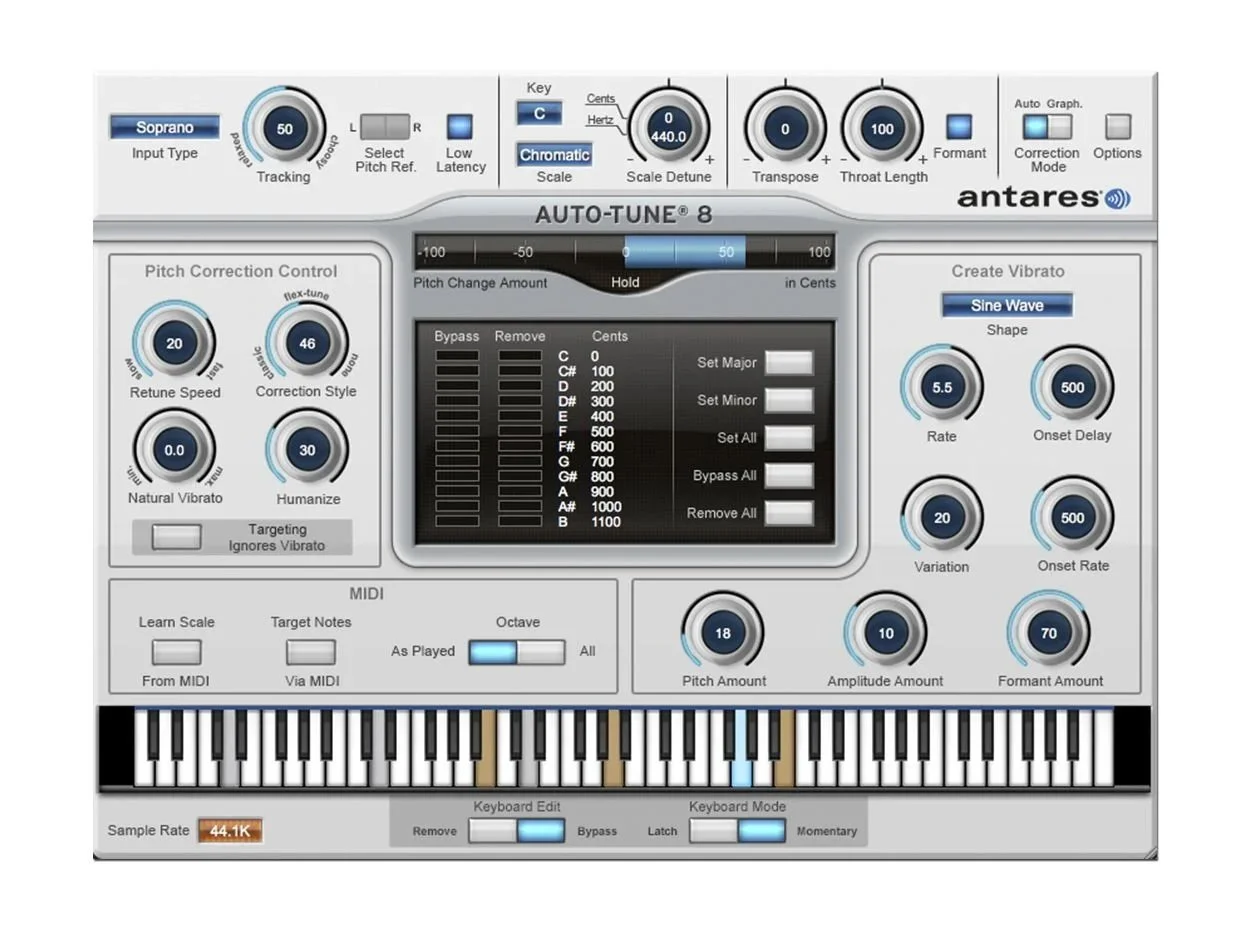
Auto Tune 8
Understanding the Algorithm Behind Auto-Tune
The magic of Auto-Tune lies in its underlying algorithm. It uses a combination of mathematical models and digital signal processing techniques to accurately detect the pitch of the audio signal. When you sing, the software analyzes the waveform, determines the frequency, and then recalibrates it to the nearest correct note. This process happens in milliseconds, ensuring that the output remains seamless and natural—or intentionally robotic, if that’s the desired effect.
This technology has inspired numerous creative applications. For instance, some producers deliberately dial in extreme settings to achieve a futuristic, robotic sound. These creative choices demonstrate how a tool originally designed for subtle corrections can evolve into a medium for artistic expression. If your creative pursuits demand a diverse sound palette, consider supplementing your setup with companion plugins that offer complementary effects like reverb, delay, or modulation.
How to Use Auto-Tune in Your Home Studio
For aspiring producers and home studio enthusiasts, integrating Auto-Tune into your workflow can be a game-changer. Here’s a step-by-step guide to getting started with Auto-Tune, along with a few tips to maximize its potential.
Step 1: Installation and Setup
Download and Install: First, purchase or download the trial version of Auto-Tune from a reputable source. Follow the on-screen instructions to install the plugin on your computer. If you’re just starting out, there are free or budget-friendly alternatives available—always explore companion products that suit your budget and style.
DAW Integration: Auto-Tune works as a plugin for digital audio workstations (DAWs) such as Ableton Live, Logic Pro, or FL Studio. Open your DAW and navigate to the plugin management section to ensure Auto-Tune is recognized.
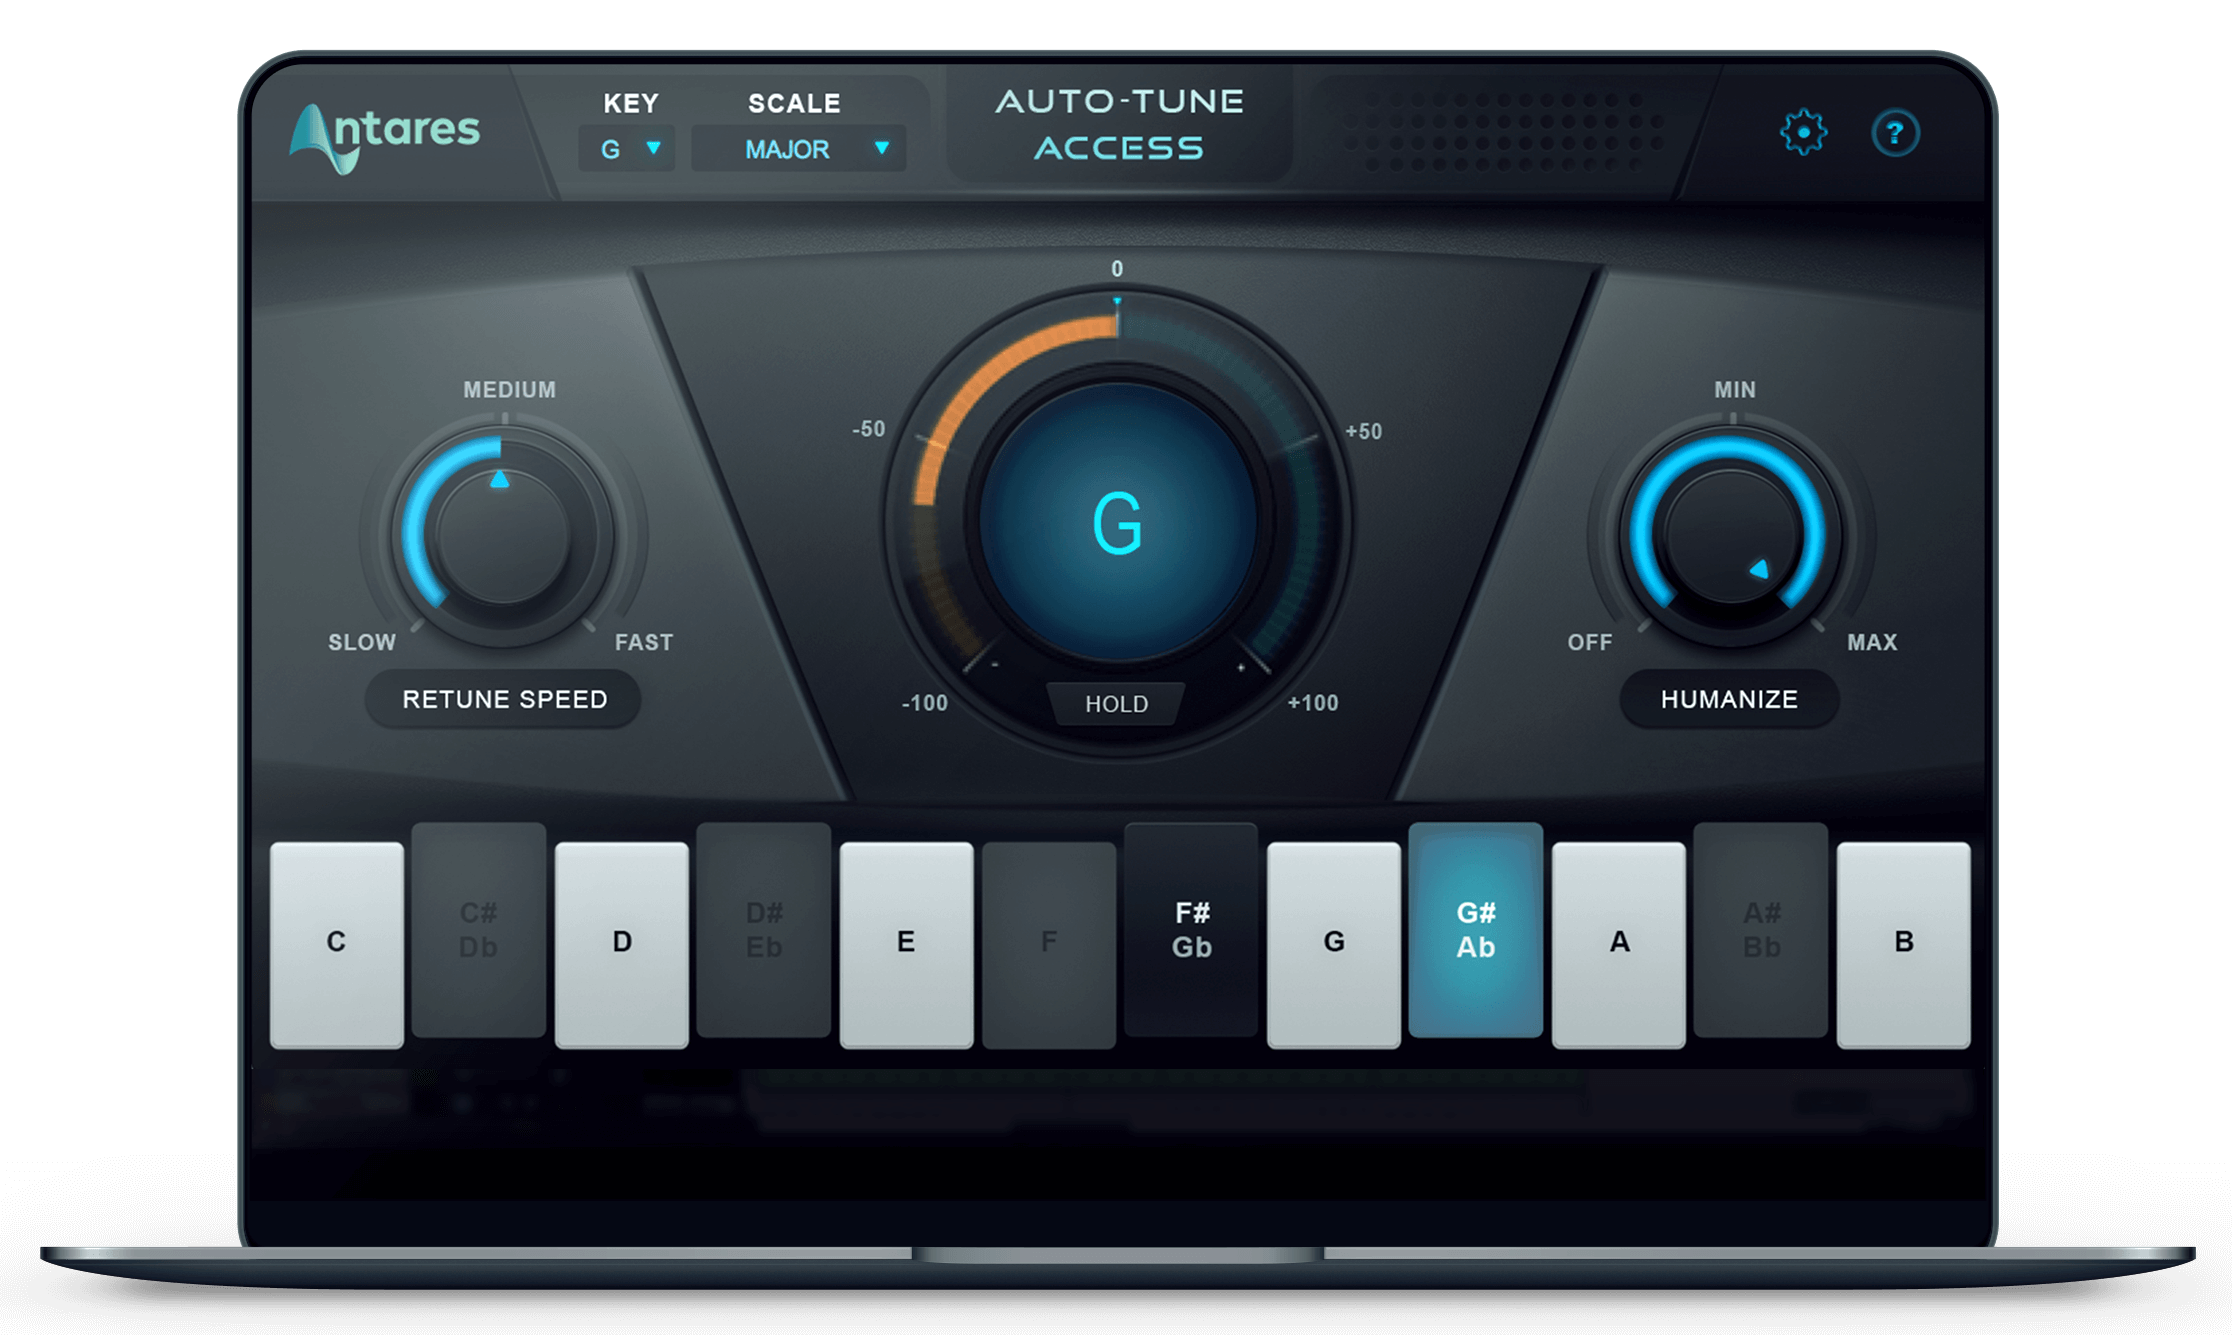
Initial Configuration: Once the plugin is installed, load it onto your vocal track. Familiarize yourself with the interface, noting key parameters like pitch correction strength, retune speed, and scale selection. A slow retune speed will result in more natural corrections, while a faster speed creates the iconic robotic effect.
Step 2: Recording and Playback
Recording a Vocal Track: When recording, aim for a clean, dry vocal signal. Use a high-quality microphone and consider acoustic treatment to minimize background noise.
Applying Auto-Tune: Activate Auto-Tune on your vocal track. Experiment with the retune speed and key settings to see how they affect the sound. If you’re aiming for natural correction, opt for a gentler setting.
Real-Time Adjustments: As you record or playback, adjust the parameters in real time. This immediate feedback loop allows you to fine-tune the effect to match your creative vision.
Step 3: Experimenting with Creative Effects
Extreme Settings: For those who want to push the boundaries, try setting the retune speed to its fastest setting. This will produce the distinctive “Auto-Tune effect” that’s been heard in countless pop hits.
Layering with Other Plugins: To further enhance your vocal production, consider layering Auto-Tune with other effects such as delay, reverb, or even a slight distortion. These companion plugins can add depth and character to your sound.
Fine-Tuning: Don’t be afraid to tweak the parameters. Sometimes, small adjustments can yield surprising and delightful results. Experimentation is key to finding your unique sound.
Step 4: Export and Review
Exporting Your Track: Once you’re satisfied with the adjustments, export your track and listen to it on different sound systems. This helps you gauge how the corrections translate in various listening environments.
Review and Feedback: Share your track with friends or fellow musicians for feedback. Honest opinions can provide new insights and help you refine your use of Auto-Tune. And if you’re in search of alternatives for that extra creative edge, check out other pitch correction tools mentioned earlier.
By following these steps, you can seamlessly integrate Auto-Tune into your home studio, whether you’re striving for subtle pitch corrections or aiming to create that unmistakable vocal effect.

Practical Tips
Optimize Your Recording Environment:
A clean recording space enhances Auto-Tune’s performance. Invest in soundproofing or acoustic panels to reduce echo and background noise.
Mix and Match with Companion Plugins:
Use additional plugins like dynamic range compressors, EQ, or reverb to further polish your vocal recordings. If one option isn’t quite right for you, explore companion alternatives that might better complement your setup.
Stay Informed with Tutorials and Community Insights:
Engage with online communities, watch tutorials, and read expert reviews to continuously improve your workflow and explore innovative uses for your pitch correction tools.
Experiment and Personalize Your Sound:
Every artist is unique. Tweak settings, mix different effects, and don’t be afraid to try unconventional techniques to create a sound that truly represents your vision.
Invest in Quality Hardware:
A high-quality microphone and audio interface ensure a pristine input signal, allowing Auto-Tune (and its alternatives) to work at their full potential.
Real-World Examples and Success Stories
Consider the case of pop icon Cher. The use of Auto-Tune in her hit “Believe” marked a turning point that not only revived her career but also redefined vocal production in pop music. Similarly, many hip-hop and R&B artists have embraced Auto-Tune to create futuristic, almost otherworldly vocal textures. These examples underscore the transformative impact of this technology and illustrate the potential benefits of exploring alternative tools tailored to your creative style.
Final Thoughts
Auto-Tune’s invention in 1997 marked the beginning of a new era in music production. From its humble origins as a pitch-correcting tool to its evolution into a creative instrument capable of transforming vocal tracks, Auto-Tune has left an indelible mark on the music industry. We’ve journeyed through its fascinating timeline, uncovered the origins and the genius behind its invention, and taken a detailed look at its technical underpinnings.
As you experiment with your own home studio setup, ask yourself: How can this technology enhance your creative process? Are you more interested in subtle pitch corrections or bold, creative effects? And if one option doesn’t perfectly match your vision, why not explore alternative plugins that might better align with your workflow?
Your musical journey is unique, and the tools you choose can make all the difference. If you’re looking for inspiration or additional resources, consider delving into online tutorials, community forums, and expert reviews. Engaging with fellow musicians and producers can offer fresh insights and help you refine your techniques.
Remember, whether you’re using Auto-Tune or one of its many compelling alternatives, the ultimate goal is to express yourself authentically. So, grab your microphone, fire up your DAW, and start exploring the sonic possibilities that lie ahead. What’s your biggest challenge when it comes to setting up your studio? Share your thoughts and experiences in the comments below—we’re all in this creative journey together!